CN
CN  US
US  DE
DE  JP
JP  RU
RU 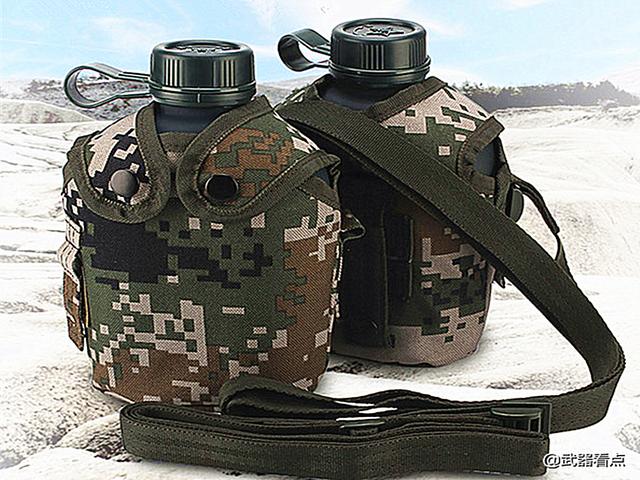
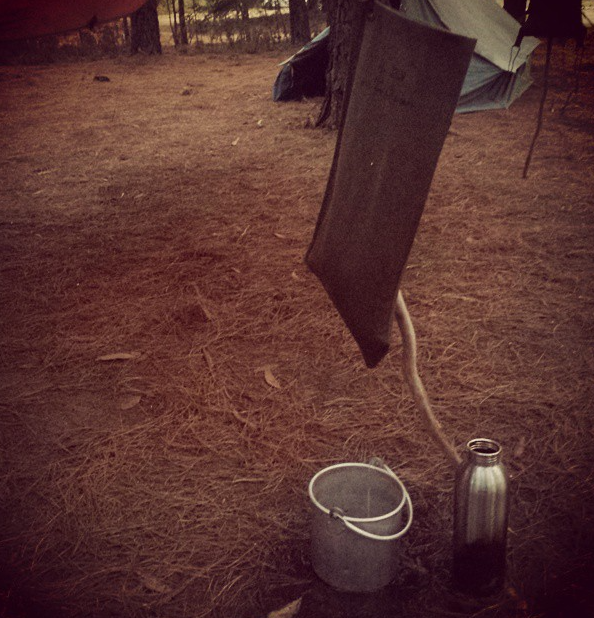
It is a military vehicle water bladder made in 1941. An exact replica of this bag was also made using lighter weight canvas and it worked really well. The military water bag originally had a porcelain spout. This is a hygienic measure as many people will share the same water bag. Someone stupidly knocked my bag against the concrete and broke the spout shortly after I got it, so I had a good time making my own spout out of a branch and drilled a hole in it for the Water bottle cork. It's great!
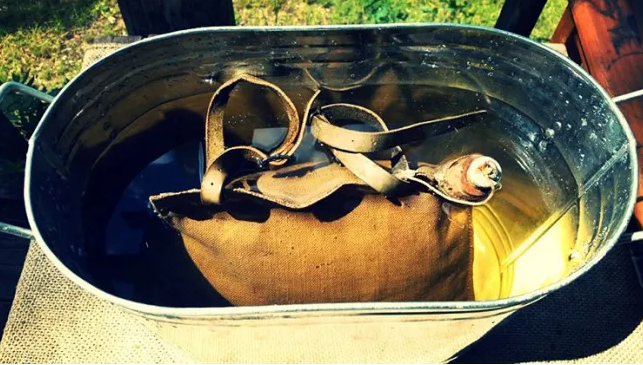
Soaking expands the fibers of the bag, allowing it to hold moisture better
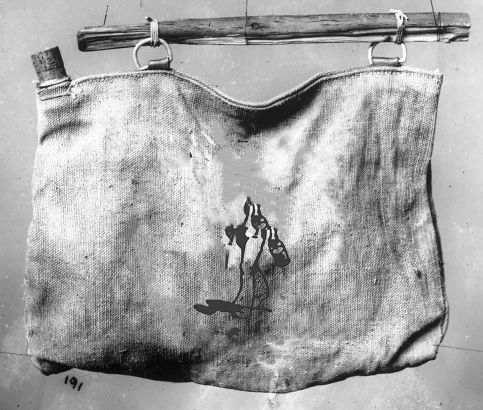
A bum out west for a drive knows where the water is, and he also knows that when it's more than a day's journey, he has to carry his own supplies. Usually a bum would carry a linen waterskin. Not only does this allow him to carry 3 or 4 liters of water with relative ease, but the microporous nature of the bag means the water is always cool. In fact, the hotter the day, the cooler the water. Other ways to carry water are in a 5 pint billy can with a lid, or in a jug or carafe on the shoulder strap.
 Homemade water bags, a 950ml enamel water bottle, a 1200ml MkVI water bottle
The water bag is portable. A strap that goes through the grommet hole in the bag allows you to push a stick through the strap, which provides the perfect grip.
A kettle is also useful. Sometimes I carry three water bottles instead of one. I tend to carry water bottles in three main ways - on a belt, nosebag or shoulder strap. I have a pre-WWII American M1910 water bottle that I carry in my fanny pack. It has a nesting cup, almost the same as the modern Australian Army water cup, but it is made of aluminum. I also have a couple of Australian WWI/WWII enamel jugs. The most commonly used of these was a leather shoulder mount for hussars. The shoulder strap design makes it super easy to drink on the go. It's almost as easy as drinking from a modern day Camelbak or similar water bladder.
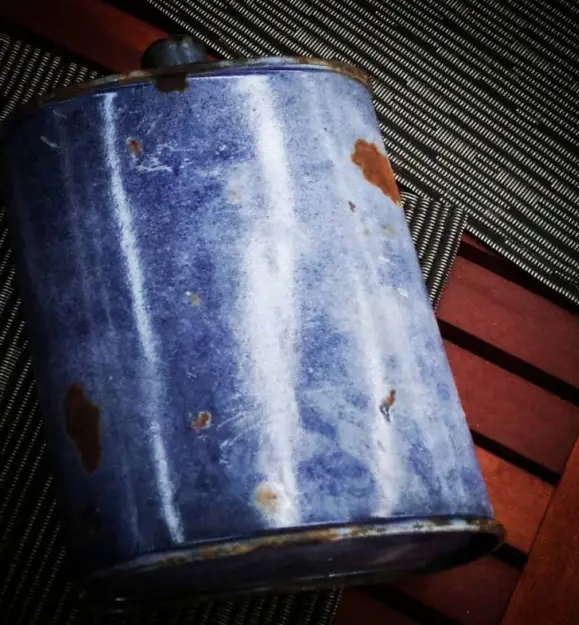 World War II enamel water bottle. This one has been restored with a fleece cover and new cork. Great water bottles, but being enamelled steel, they are much heavier than their plastic or even aluminum equivalents
Water purification is a very important topic. Once you dig into the source material like I did, you'll read about old drifters talking about drinking creek water with animal remains, stagnant water, ponds overgrown with algae, and even muddy puddles. That's how it used to be, and coming from an outdoor industry background, I prefer to handle my water. If you drink unclean water, there can be severe "vomiting and sneezing" for two days, which is not my idea of fun, especially when you are half way through a month long trip. Travelers of yesteryear had some means of purifying water, and as today they can be grouped into three main types - filtering, boiling and chemical treatment.
Filtering usually uses multiple layers of cotton, such as a scarf or knotted shirt sleeve. For filtering, I use mill style filter bags, a 1940's invention. It is a canvas bag that is first soaked and then filled with water. When the water level reaches the mark line, you place your canister under it and start collecting filtered water. It is only useful for removing mud and particulate matter. You'll still need to do other treatments to the water before drinking it. A mill filter can be made more effective by putting a few handfuls of fine sand in it.
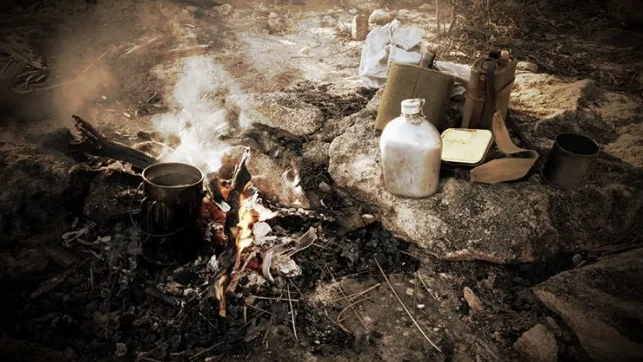
 Boiling is the most reliable way to purify water. Conventional wisdom holds that boiling water for a minute will kill most bugs. To be 100% sure, keep at a rolling boil for 10 minutes. If you didn't filter your water first, there are a few different ways to deal with cloudy or particulate matter. The easiest way to do this is to put a few pinches of wood ash into the water as it boils. The ash will settle to the bottom of the quart or billy jar and carry the dirt with it. You can simply pour plain water over it.
 Chemical treatment may be the most convenient. Even if you can't filter or boil water at the time, you can use chemicals to make it drinkable. The most common chemicals carried in those days were Condy's crystals, also known as potassium permanganate. This is a versatile item, so it's worth carrying a small bottle. Condy's crystals don't work very well as water purifiers, especially if you need to get water quickly. It takes up to 24 hours per liter of 1 gram of Condy's crystal solution to kill harmful substances. Boiling is faster and more efficient.
One area where Condy's crystals do work really well is removing the taste and odor of foul water. If you boil stagnant water, it still smells stagnant. Add three or four individual Condy's crystals to a quarter of the water and the oxidation of the chemicals will make the water more palatable within minutes.
Personally, when it comes to chemical water treatment, I use a modern option, the Aquatabs, which are sodium dichloroisocyanurate tablets in the ratio of one tablet per liter of water. The contact time is 30 minutes, after which the water is safe to drink.